I didn't really have any projects on the to do list that would work with both black AND white, so I had to split it up a bit. It turns out I had LOTS of small and medium projects that were one or the other. So this fortnight was all about getting some of those smaller projects off the list. The first thing that I did was focus on projects that would complete an outfit for my chartreuse leopard print charmeuce 1920s dress.
First up was a hat to kind of round out the outfit. I've been on an ultra-short hair kick lately, and that's been making it where I've had to get pretty creative figuring out what to do with my head when I costume. The cloche hat is awesome because it totally covers the head. So not only do I not have to do my hair, it's completely irrelevant what it looks like.
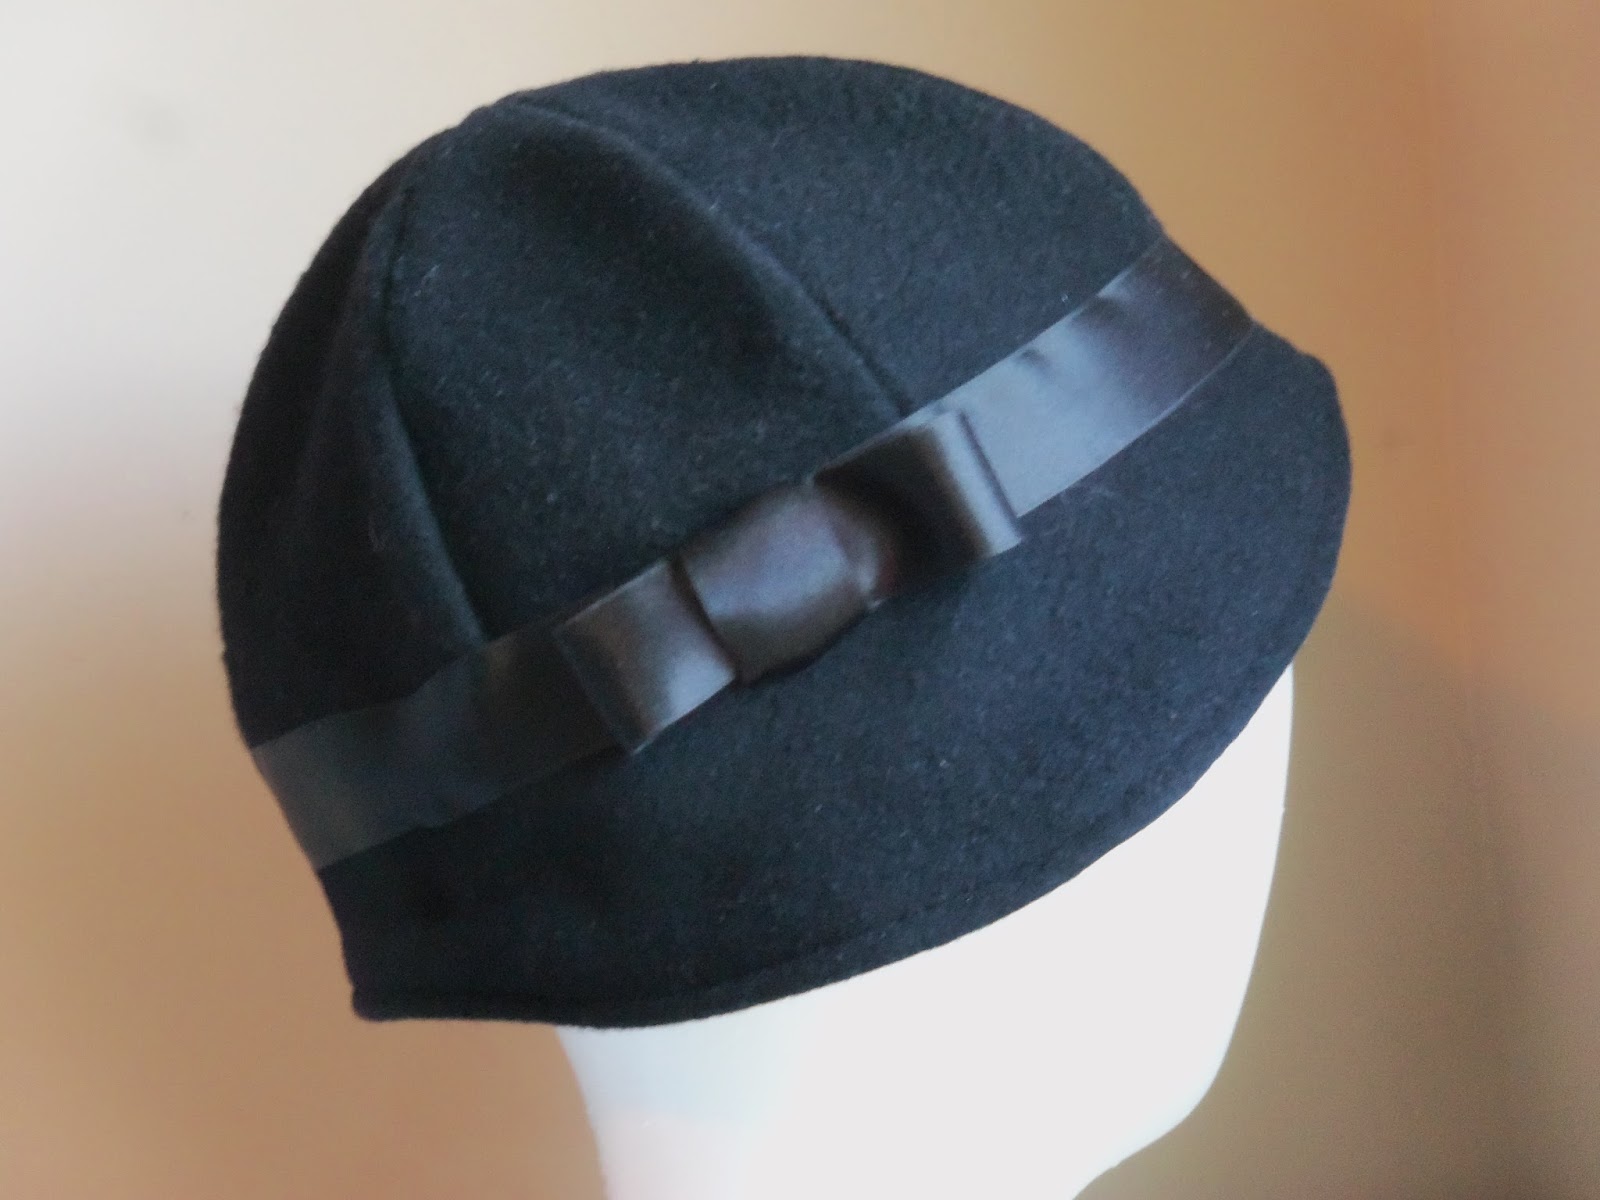
What it is: cloche hat
Fabric: black wool felt and dark blue silk habotai for lining
Pattern: http://mymagicmom.com/cloche-hat-tutorial/, modified to add in another triangular panel to the crown, up-size for an adult head and seam allowances added to allow for a lining.
Year: 1920s
Notions: polyester (construction) and silk (top stitching/embellishment) threads. 1 yard of 1 inch wide black silk satin thread.
How historically accurate is it? I'd say pretty close.
Hours to complete: 4, including adjusting the pattern to fit a grown up head.
First worn: not yet, but this is part of completing my 1920s outfit, so I hope to find an event to break that out for soon.
Total cost: < $10 Everything was from materials on hand, even though I'd marked that ribbon for for tying back my honey's 18th c hair.
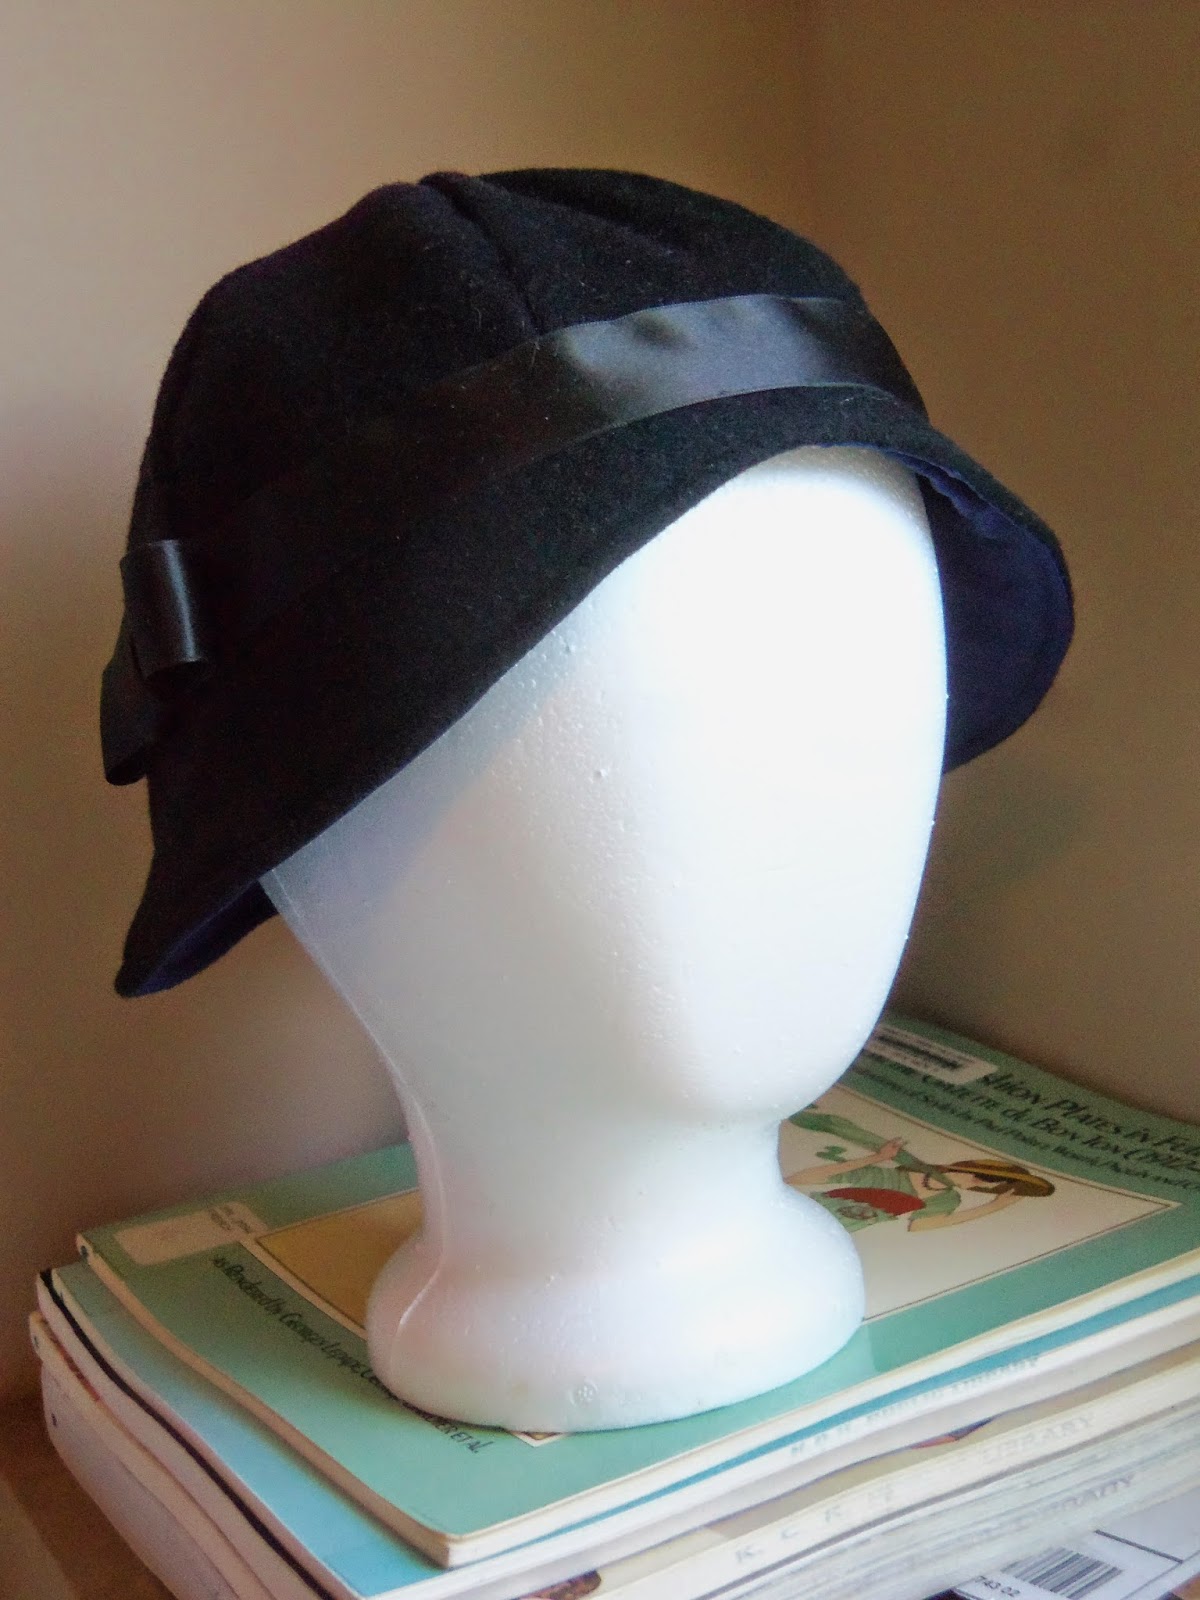 |
| I didn't have any black habotai laying around, so I used a bit of the dark blue left over from the MIL's Acadian short cloak. A bit of fudging on the challenge, but a white lining would not have looked nice at all. |
What it is: poncho
Fabric: 1.75 yds of 51" wide black silk burnout (so most likely a silk/rayon satin)
Pattern: inspired by the tunic that's included in the Folkwear Monte Carlo dress pattern, but they didn't have the 3 yds I would have needed to pull that off, so I just made do with what they had. Turned out MUCH simpler in the long run.
Year: 1920s
Notions: polyester (machine stitching to attach bias for neckline and prep hemline) and silk (for top stitching/finishing) threads.
How historically accurate is it? meh. Close enough.
Hours to complete: About three.
First worn: see above
Total cost: Fabric was on sale, so about $12.


As you can see, the poncho is super thin. It's not so much that I wanted something to keep me warm as I wanted something to kind of break up the top half of the Monte Carlo dress, which was fun, but not of a style that's very flattering for a pear-shaped human. This way, you can still see the top of the dress, but hopefully won't focus on the boob-waist-hip ratios. It also adds some flow to the top half to kind of balance out the movement and scope of the hemline of the dress. The abstract garden design gives it just enough interest, without being too interesting. And it's vague enough that the pattern on the back half being 'upside down' shouldn't be too much of an issue.
The construction was simple. I just folded the yardage in half and cut a narrow oval for the neck, placing more of a dip in the front than that back. The neckline was finished with a narrow strip of fabric cut from the ends. Not a true bias, but the fabric was so light that it didn't really matter. The front and back hemlines were cut in a shallow point and finished with a hand done rolled hem. I left the selvedges along the side seams alone because I figured that there's nothing I could do to them that would look nicer or less obvious. My only complaint is that the satiny bits of pattern tended to fray whenever they were manipulated, so a close inspection of the hemlines shows lots of tiny little threads sticking out. Let it be a message to me to treat it VERY gently when it comes to washing.
I had kind of wanted to take pictures of the complete outfit, but I can't seem to figure out where the hell I put the dress. Needless to say, organizing the costume storage is at the top of the list for projects to get started on this summer.
No comments:
Post a Comment